If you’ve ever rebuilt an older Triumph motorcycle engine, you’ve probably heard from everyone that you must tear it down completely to clean the sludge trap.
It’s true. To completely trust that all that hard work won’t be in vain, you have to clean that primitive oil filter. Once you’ve done that, you certainly don’t want to have to ever do it again.
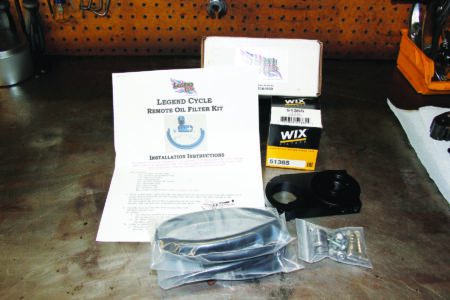
The best way to ensure that the oil stays clean is for the oil to run through a spin-on filter that can be changed on a regular basis. So for this How-To, we’re going to install an aftermarket oil filter kit from Legend Cycle (legendcycle.net) on this 1968 Triumph Bonneville so you never have to worry about the sludge trap again. Here’s a short link directly to the kit. A printed copy of the instructions comes with the kit, but it can also be found online at Legend Cycle if you’d like to read the instructions before purchasing it. There’s also a video done by Legend Cycle showing installation of the kit — Keith Fellenstein
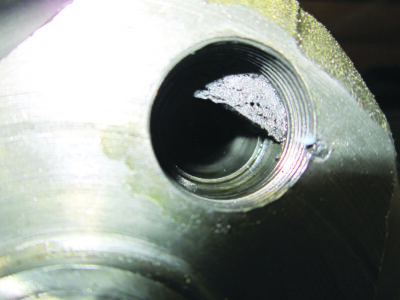
1. Most of these classics were built to use non-detergent oil. The sludge trap used the centrifugal force of the rotating crankshaft to remove any particles from the oil. If you’re not using non-detergent oils (and you shouldn’t) modern detergent oils will hold those particles in suspension, to be removed by a modern paper filter.
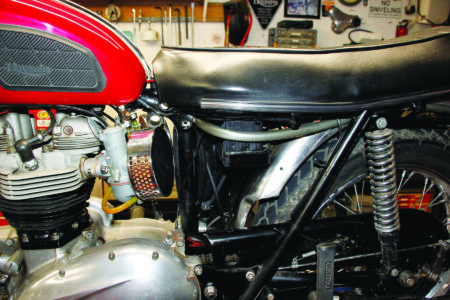
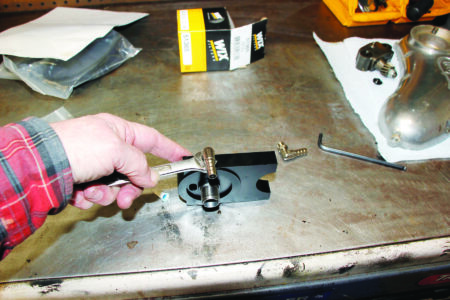
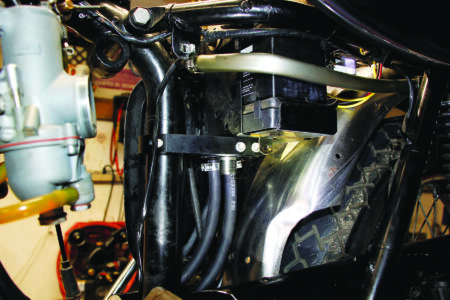
2. Of course, since this is a classic bike, you don’t want to mar the classic looks with an obvious modern add-on, so we start by hunting for an inconspicuous location for the mounting bracket.
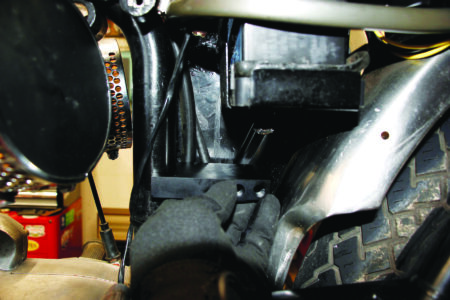
3 .It looks like there is room behind the left side cover, also behind the main frame tube, to hide this from all but the most scrupulous rivet counters.
4. Next we install the pipe to hose adapters to the oil filter plate and install the plate to filter adapter stub. Use a small amount of Loctite on these. The manufacturer warns against overtightening these tapered pipe threads, as you don’t want to split the aluminum plate.
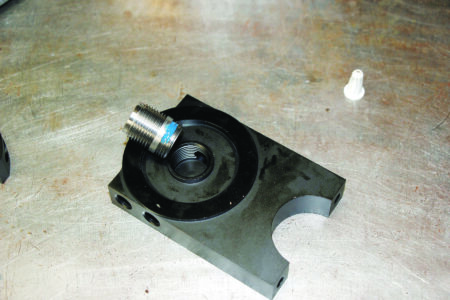
5. Install the oil filter adapter pipe to the filter plate, short threaded side to the plate. Seal the threads with Loctite.
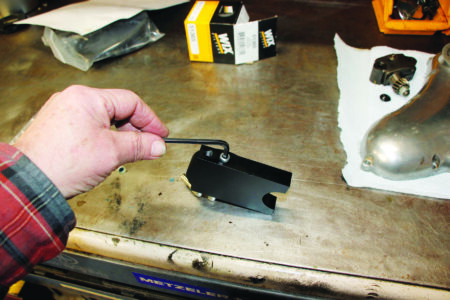
6 You can attach the hose adapters to either side of the filter mount, depending on where you choose to place it. For our purposes, we’re putting the hoses on the side closest to the oil tank. Use the supplied pipe plugs to seal off the unused ports, again with a little Loctite.
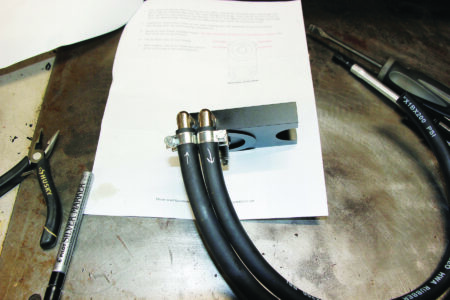
7. Connect the oil hoses to the adapter plate and use the supplied hose clamps to secure them to the pipe elbows. It’s important to get the flow through the filter correct, so I marked the hoses both at this end and at the tank and engine attachment ends as a reminder.
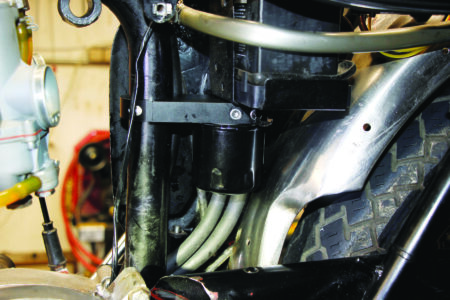
8. We’ve mounted the filter mount as high as possible to allow the easy removal of the filter. Test fit the filter before final assembly to be sure you can replace it without problems.

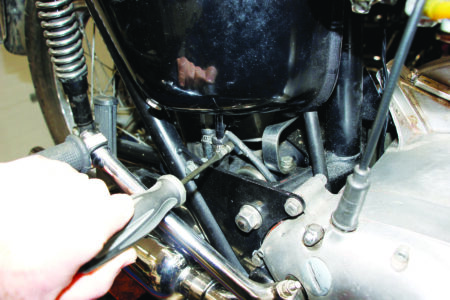
9. Disconnect the oil return pipe at the tank fitting. Be prepared for a small amount of oil to drain from the return tube in the tank.

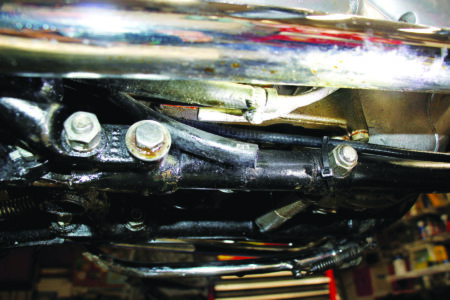
10. Disconnect the oil hose from the return side of the oil pump manifold on the engine.
11 . Run the hoses from the oil filter bracket to their destinations at the pump manifold and oil tank. You can barely see the faint E painted on the hose to remind me of which end goes where.
12. Install clamps on the hose ends and tighten them.

13. Before installing the filter, prefill it with oil. You should do this a few times, waiting for the oil to soak in and displace the air in the filter until the filter stops bubbling. Rub a film of oil on the gasket surface for final installation.
14. Finally, carefully holding the filter so you don’t spill the oil, thread it onto the filter bracket. As always with these spin on filters, avoid over tightening them. Usually a quarter turn after the gasket contacts the base is sufficient. Reinstall your side cover, start the bike, and check for oil returning to the tank. All done!


