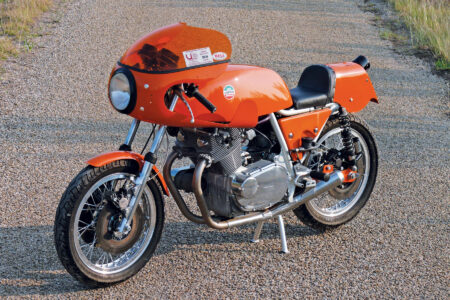
Note: This Motorcycle Classics Fuel Tank Rust Removal How-To offers step-by-step information from a professional technician. Should you want to restore your fuel tank yourself, the process calls for great caution due to the use of 30% muriatic acid, which is a diluted form of hydrochloric acid. Full eye protection, heavy rubber gloves, and ventilation are a must. — Ed.
Removing rust from a motorcycle fuel tank’s interior is comparable to religion or politics: Proponents of different approaches (see sidebar) have strongly held views. Most fuel tanks are made of steel, steel rusts, and the situation is aggravated by humidity and hygroscopic (moisture-attracting) fuel additives.
The fuel tank rust removal approach discussed here is the one used by Cycle Garden for quickly and thoroughly removing rust from a fuel tank interior. Cycle Garden head honcho Moe Moore walked us through his process using muriatic acid. Muriatic acid is a diluted form of hydrochloric acid. Rust is an iron oxide, an alkaline material. When muriatic acid encounters rust, a neutralization reaction occurs quickly to dissolve the rust, allowing it to be rinsed away with water.
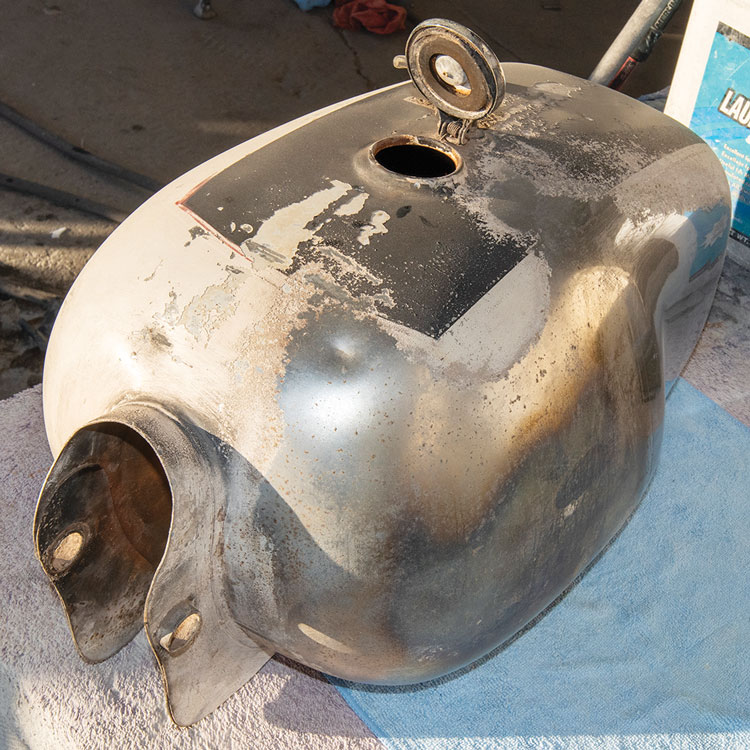
Before we get into the process, several warnings are in order:
- Do not use muriatic acid on an aluminum fuel tank, or on a fuel tank that has aluminum components (such as fuel petcocks or caps). Muriatic acid and aluminum will react to produce hydrogen gas, which is highly flammable and can be explosive.
- When using muriatic acid, do so outdoors in a well-ventilated area.
- When working with muriatic acid, wear gloves and safety goggles.
Other milder acids can also remove fuel tank rust, but they take much longer to do so, and most people find they are less effective. Some people use Coca-Cola (which is mildly acidic); others use a mix of white vinegar and water, and still others use a citric acid and water mix. Some people add nuts and bolts to the mix and shake the tank to mechanically remove the rust. Your mileage may vary; I’ve found these other approaches time-consuming and ineffective. Cycle Garden’s approach works in minutes, and what comes out of the tank is visually shocking.
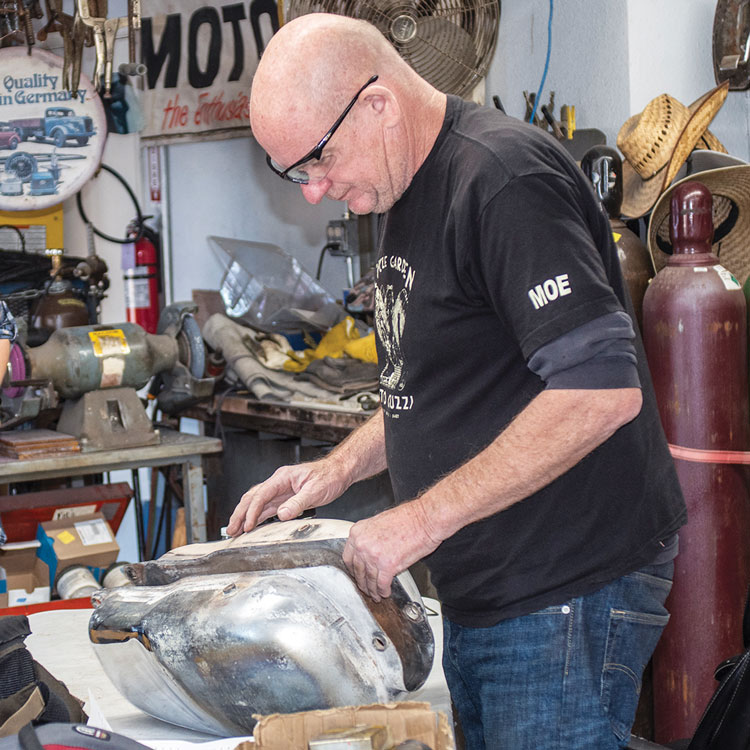
Tools and materials required for fuel tank rust removal include a thread chaser for the fuel petcock attach points, a general purpose metal cutting oil, a well-ventilated work area, plugs for the fuel tank openings (if you can’t use the fuel filler cap and fuel petcocks due to aluminum components), rubber plugs if you can’t use the filler cap and the petcocks (available online and in most hardware stores), a water hose and water supply (a garden hose and tap water works fine), and diesel fuel or WD-40.
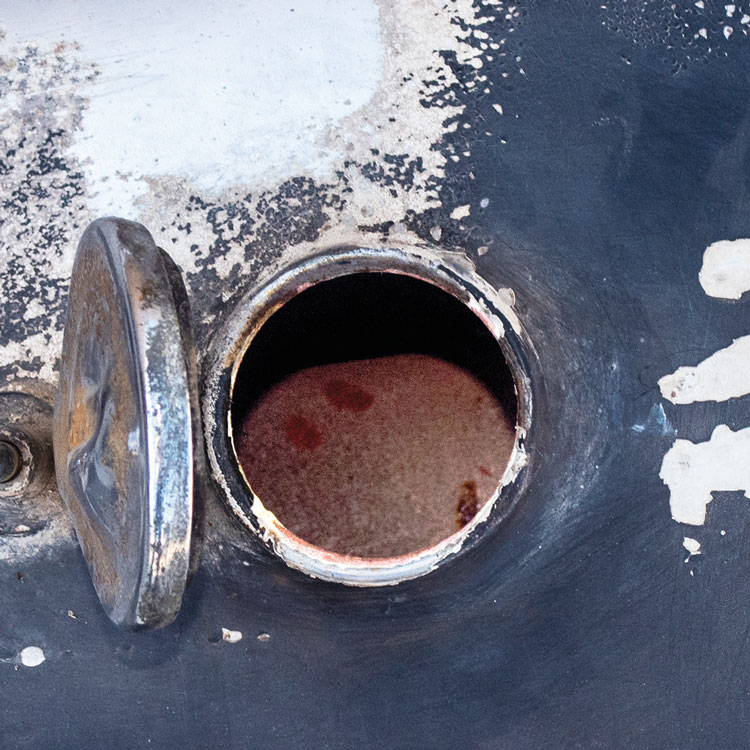
Another word to the wise: If you’re considering painting your fuel tank, do the rust removal operations described here before the new paint job.
Preliminary steps (not shown here) include draining all fuel from the fuel tank, removing the fuel tank from the motorcycle, and removing any aluminum components from the fuel tank. This article assumes these steps have already occurred.
1 Clean fuel petcock threads
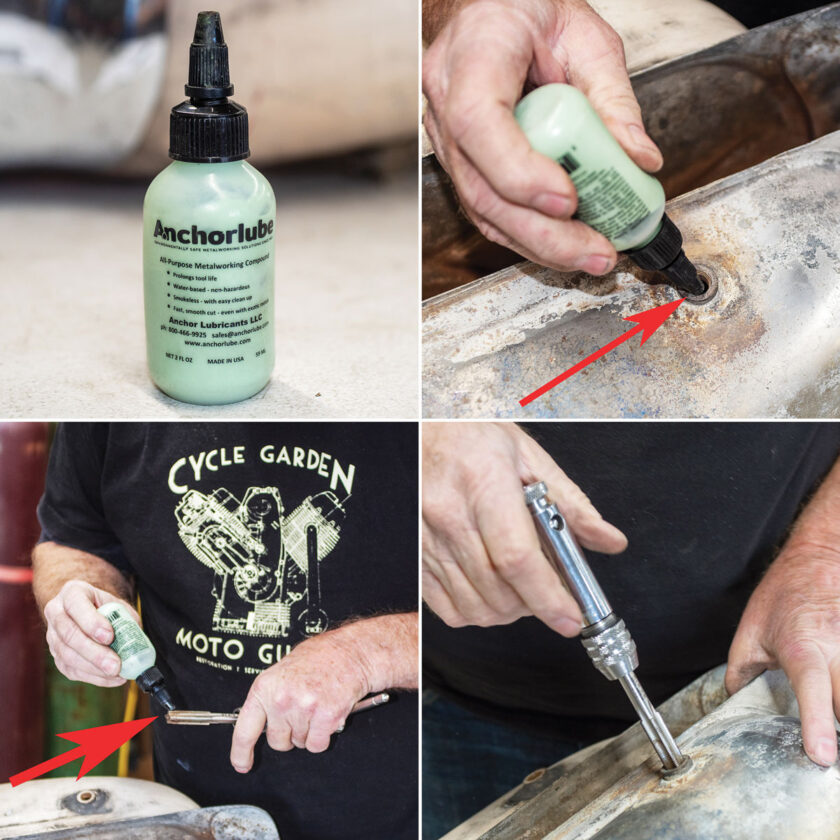
If the inside of a fuel tank is rusty, it’s likely the fuel petcock threads are also rusty. Cleaning the threads involves using a thread chaser with a metal cutting lubricant to recut the fuel tank’s petcock threads.
2 Plug fuel tank openings
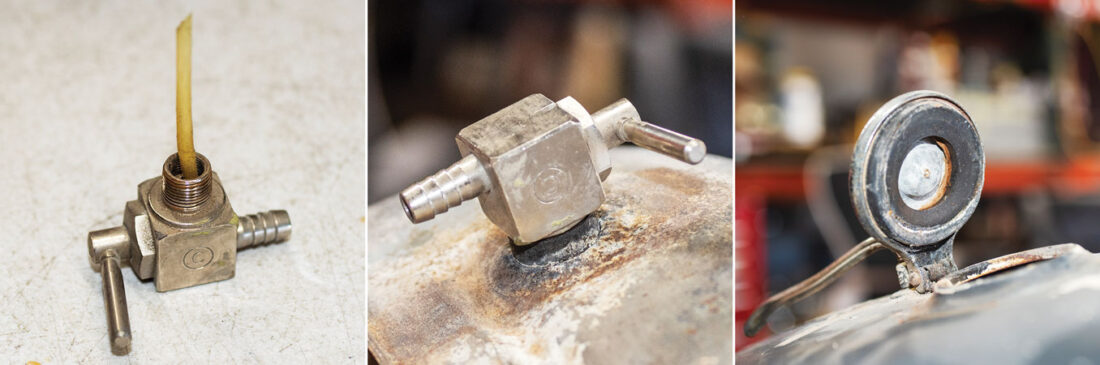
The fuel tank openings (the petcock, fuel fill, and any vent line openings) need to be plugged for the muriatic acid rinse. As mentioned above, no aluminum parts should be allowed to contact muriatic acid. If the petcocks are made of steel, they can be used to plug the fuel petcock openings. If the fuel fill cap is made of steel, it can similarly be used to seal the fuel fill opening after the muriatic acid is added to the tank. Alternatively, rubber plugs (available from most hardware stores) can be used to seal these openings if the fuel fill cap or the fuel petcocks have aluminum components.
Leave the fuel tank fill opening open initially, as it’s where muriatic acid will be poured into the tank. After muriatic acid is added to the tank, the fuel fill opening should be plugged with either the fuel fill cap or a plug.
3 Add muriatic acid, seal fuel filler opening, shake, and pour
WARNING: DO NOT perform this step indoors.
WARNING: Wear eye protection and gloves during this operation.
WARNING: Do not breathe in muriatic acid fumes.
CAUTION: Take care not to let the solution contact the exterior surfaces of the tank (muriatic acid will degrade chrome, and it may degrade some paints and powder coats). Most fuel fill caps have a vent hole, and a small amount of muriatic acid may exit through this hole. Quickly rinse any exterior contact areas with water.
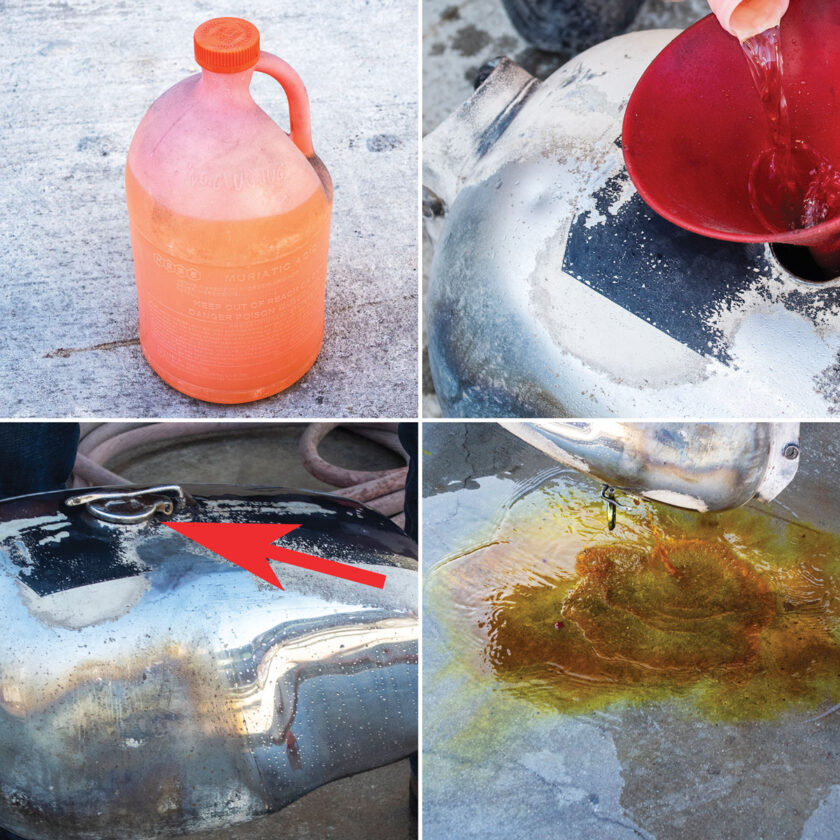
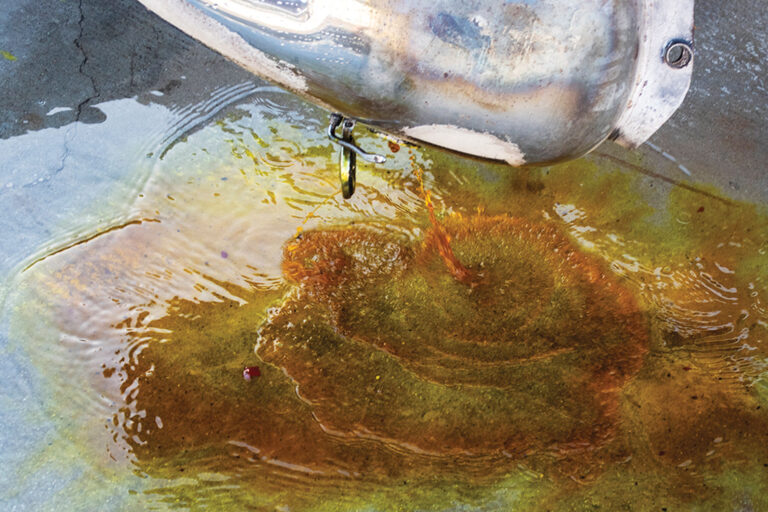
Move outside to a well-ventilated area. Pour approximately one quart of muriatic acid through a funnel into the fuel tank fill opening, plug the fuel tank fill opening, and slosh the muriatic acid around in the fuel tank by moving the tank back and forth vigorously for a minute or two. Do this with the tank in its normal orientation and then repeat the sloshing with the fuel tank in an inverted position. Return the tank to its right-side-up orientation, open the fuel tank fill port, invert the fuel tank, and drain it. A brown and yellow solution will exit the fuel tank, carrying with it substantial rust residue, including large rust flakes.
At this point, taking care not to inhale muriatic acid fumes, peek inside the fuel tank. It’s likely no rust will remain in the tank. If any does remain, repeat the above steps.
4 Water rinse
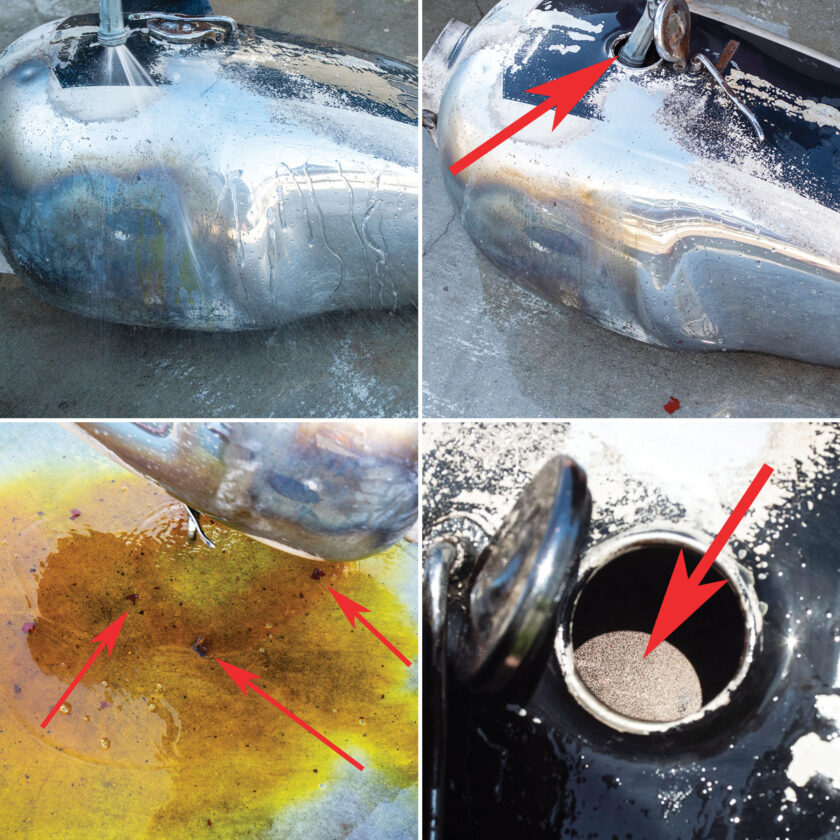
Immediately after confirming no rust remains in the fuel tank, rinse the fuel tank exterior and interior with tap water. A garden hose with a spray nozzle (one that fits inside the fuel filler port) will work well. Slosh the water around inside the tank and pour it out. Repeat this step until clear water comes out of the fuel tank, with no yellow residue or coloration.
5 Tank interior diesel rinse
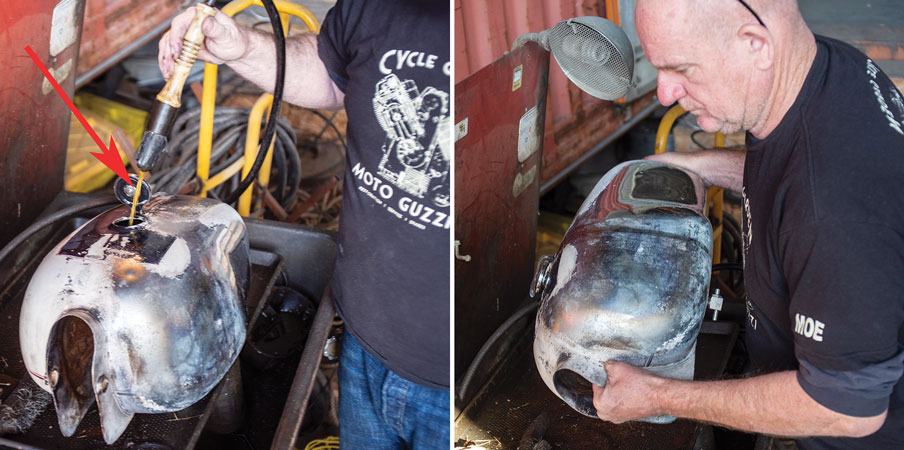
After completing the above steps, the tank interior’s bare metal will be exposed to the atmosphere, and it will rust quickly if not protected. Cycle Garden coats the newly cleaned tank interior with diesel fuel, which leaves a protective oil residue. You can also use WD-40, which is available in liquid form at most hardware and automotive supply stores.
Our special thanks again to Moe Moore and the Cycle Garden team. Cycle Garden is one of the world’s largest full-service vintage Moto Guzzi parts, maintenance, and restoration companies. The business has an extensive inventory of new old stock and vintage Moto Guzzi parts. You can contact Cycle Garden at www.CycleGarden.com or by calling 760-972-4800. Cycle Garden is located in Indio, California.
(Special thanks to Cycle Garden’s Moe Moore for help with this article!)
Different strokes for different folks
As mentioned at the start of this “How -To” article, there are different approaches for removing fuel tank interior rust.
Do nothing: Eh, what’s a little rust? The “Do Nothing” approach is usually accompanied by the owner’s hope the fuel filter will do its job. Notwithstanding the futility of hope as a strategy, the do-nothing approach is often accompanied by related hopes that rust doesn’t find its way to the carbs or fuel injectors, a further hope the rust will magically stop progressing, or the afflicted motorcycle will follow a new owner home prior to the fuel tank leaking. Doing nothing is not the approach we recommend.
Milder acids: Some people attempt to eliminate rust with milder acids (Coca-Cola, white vinegar, or diluted citric acid). The disadvantages are many: The tank must be filled, the milder acid must remain in the tank for a day or two, and most significantly, the milder acid approach doesn’t work well. Sometimes people add nuts and bolts to the mix and attempt to shake the tank vigorously. Care should be exercised as a Coca-Cola-filled tank weighs close to 50 pounds.
Electrolysis: This approach requires filling the tank with a water and baking soda mix (one tablespoon of baking soda for each liter of water), inserting a carbon steel bolt connected to a 12V battery charger’s negative terminal into the mix (but not allowing it to touch the tank), and connecting the fuel tank to the charger’s positive terminal. Rust removal takes a day or two. The process creates hydrogen gas, so use it in a well-ventilated area. If you mistakenly use a stainless steel bolt, you’ll create hexavalent chromium, yet another hazardous material.
Tank liners: Several commercial tank liner mixes are available; none seem to consistently work well. The concept is that, after rust removal, an epoxy mix is applied to the tank interior, coating it to “seal” it against moisture. Some people have success with this approach; I never have, nor has anyone I’ve ever known. Moe Moore told me tank liners are problematic and Cycle Garden never uses them.
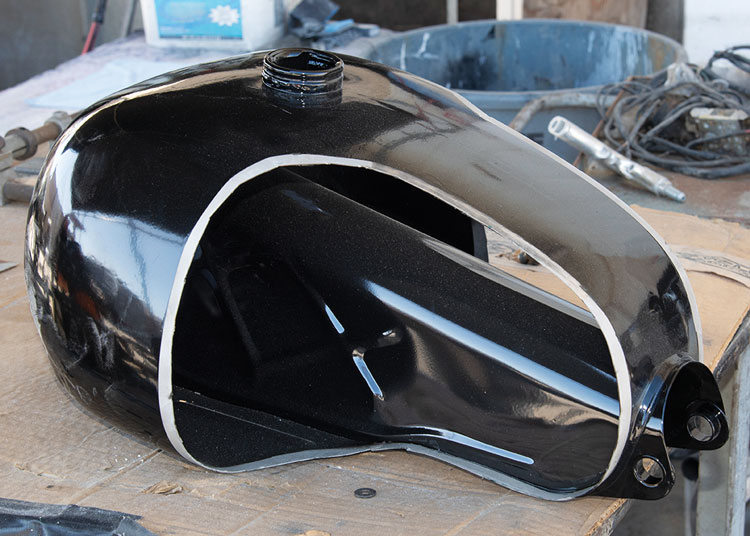
Cycle Garden’s premium approach: For an all-out restoration, Cycle Garden cuts out the area outlining the chrome panels on both sides of the fuel tank, media blasts the tank’s interior and exterior, chrome plates the removed panels, powder coats the tank interior and exterior, grinds the edges and rewelds the chromed panels back onto the tank, fills in any weld seam unevenness with a suitable filler material, masks the chromed panels, primes and paints the tank exterior, clear coats the tank exterior, applies the pinstripes, and finally, silk screens the Moto Guzzi logos on the tank. All this is accompanied by pinhole leak testing. Cycle Garden’s fee for this concours level, complete fuel tank treatment is $4,000. A complete classic Moto Guzzi restoration at Cycle Garden can range from $40,000 to $50,000. That might sound like a lot, but when you see a Cycle Garden Moto Guzzi, you’ll understand that it’s very fair.